Blog / Graphic design
Packaging design: stages and print preparation
Packaging design stages: brief, dieline, content hierarchy, samples and production files. Understand client, designer and supplier roles.
Packaging design combines brand identity with product shape and use. The process starts with a brief, structure and approved content, followed by artwork and a production file matching the chosen supplier’s requirements.
Brief and dieline
Define the product, audience, display, size and variants. Supply a current dieline showing cuts, folds and glue areas. If no structure exists, agree who creates it. Artwork for an existing form differs from structural design.
Layout and content approval
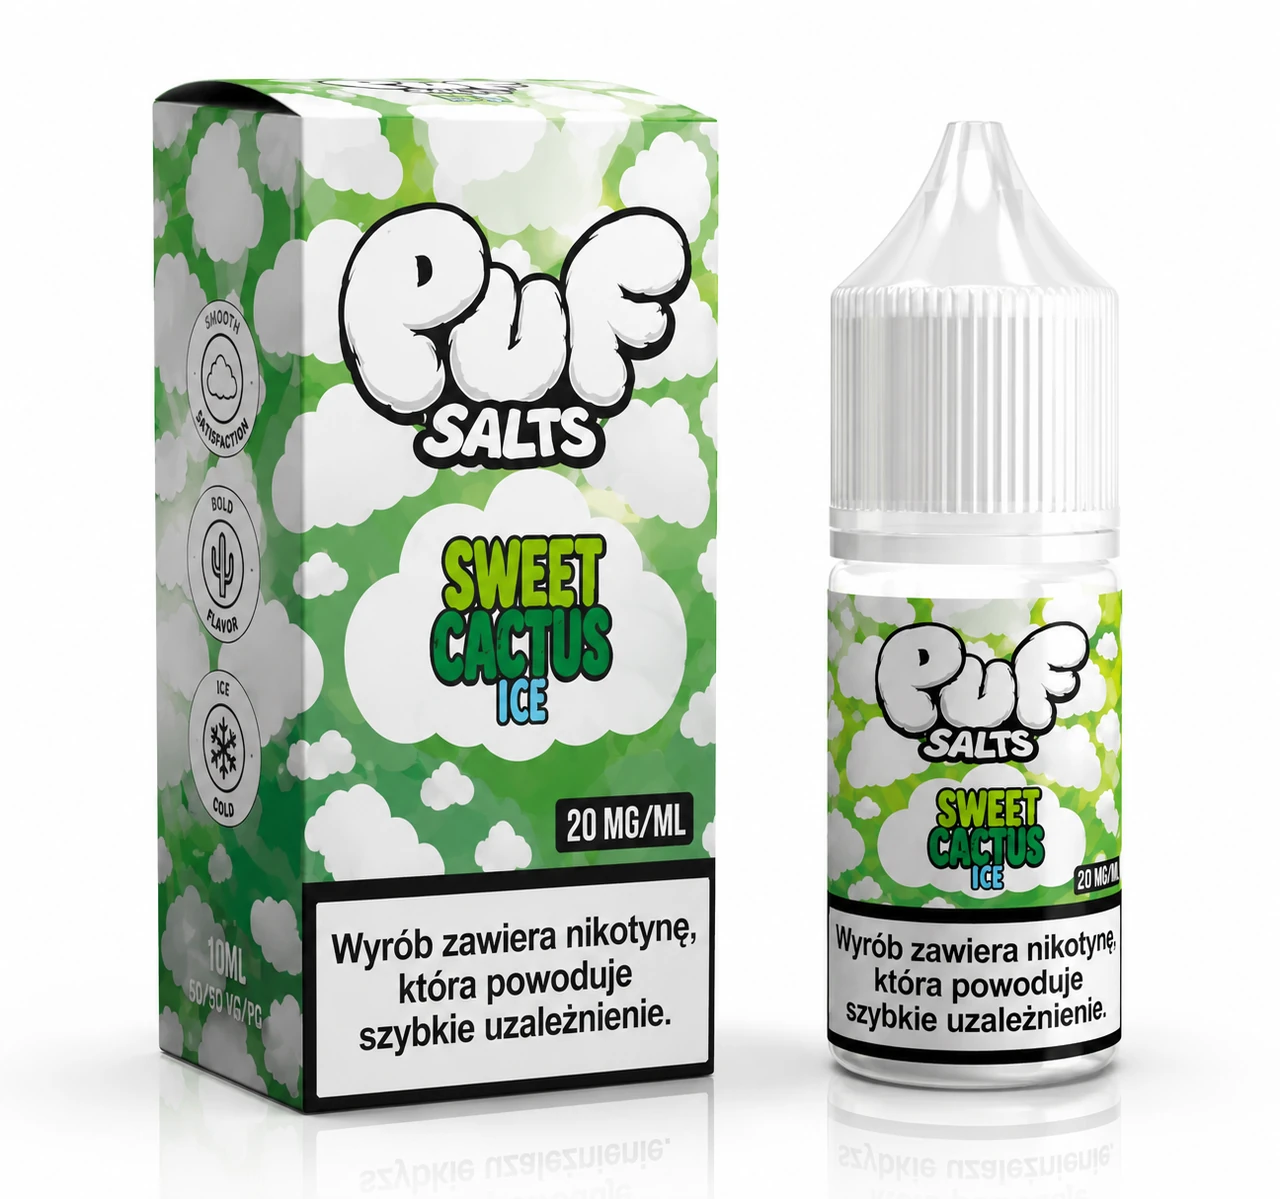
The front should identify brand, product and variant. Other surfaces organise descriptions and user information. The product owner approves content and labelling. The designer checks hierarchy, contrast and fit rather than inventing unverified product properties.
Samples and variants
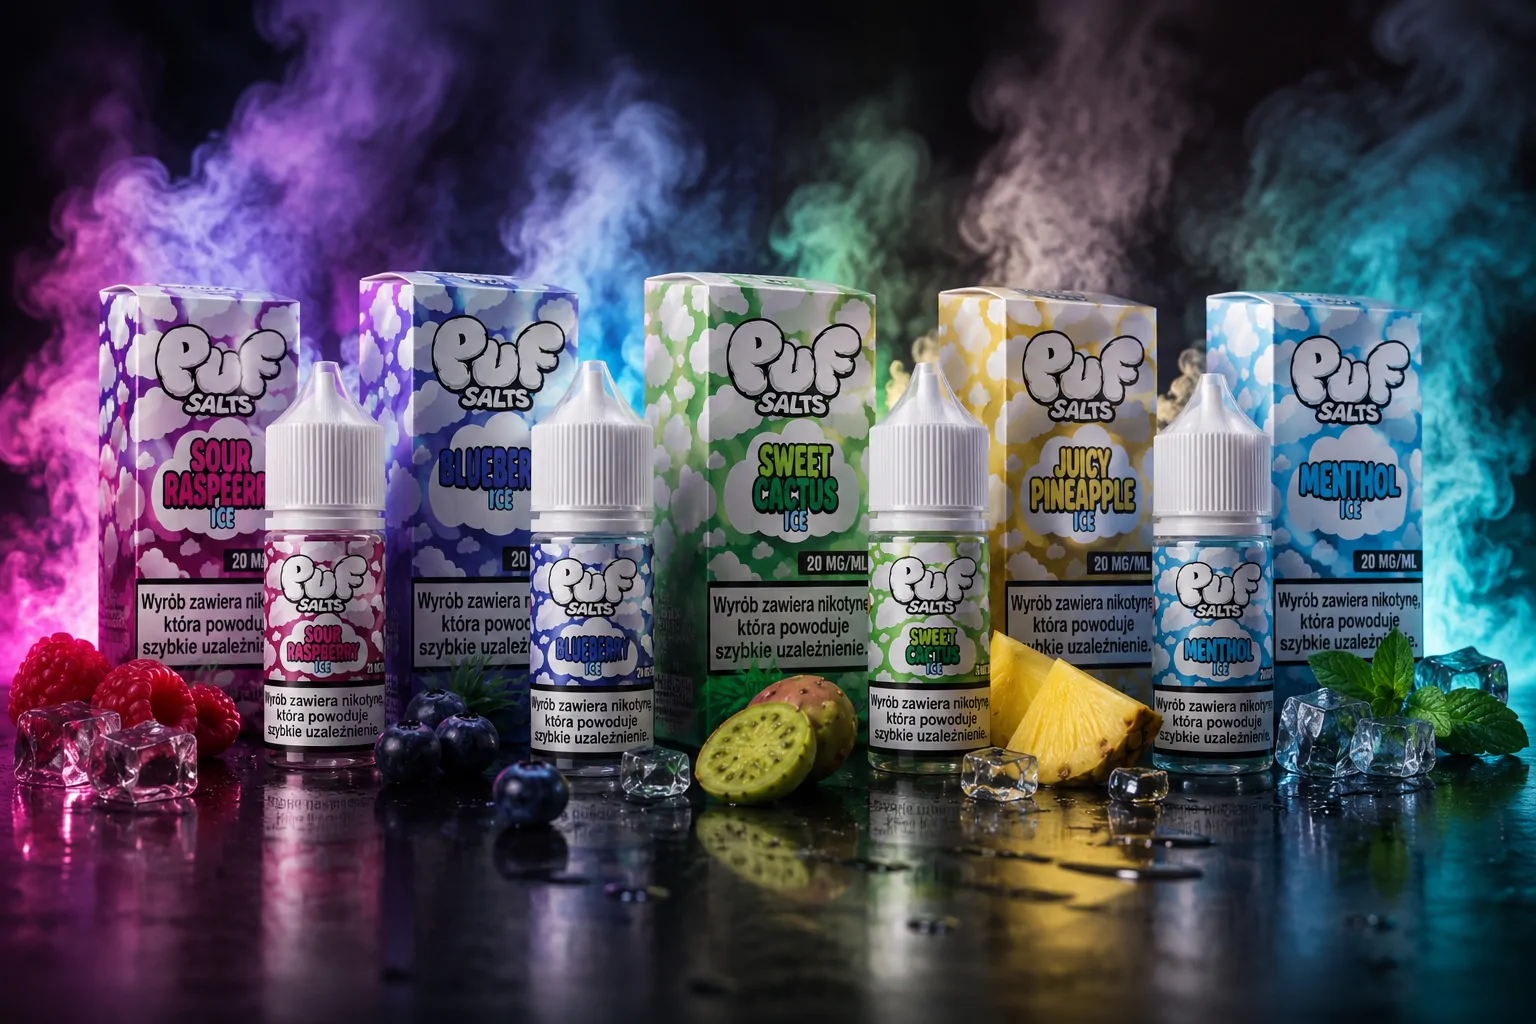
Review an actual-size print and assembled sample. Folds, seams or handles can hide text. Extra sizes and languages need checks even when they share one theme. Rowaj+ and PUF SALTS show different relationships between identity and information.
Production export
Confirm colour profile, bleed, format and special elements with the supplier. After export, check fonts, images and file version. Printing and finishing need separate arrangements. No single export specification suits every production method.
Project checklist
- Assemble a sample and check the orientation of all lettering.
- Compare sizes and languages at actual scale.
- Confirm production requirements before final export.
Bleed and print marks: Adobe Illustrator documentation.
Questions and answers
Is a mockup enough to approve production?
No. It helps assess appearance, but file checks and an agreed production sample are also needed.
Related articles
Graphic design
How much does packaging design cost?
Packaging design prices: a product, dieline, copy, product sheet and variants. See what artwork includes and what needs a separate quote.
25 August 20262 min readRead article
Graphic design
How much does logo design cost?
Logo pricing: a simple mark, brief, applications and files. Distinguish new design, vectorisation and visual identity.
25 August 20262 min readRead article
Graphic design
How much does a visual identity cost?
Visual identity prices: colours, typography, logo guidelines and applications. Compare work around an existing logo with extra deliverables.
25 August 20262 min readRead article
Turn your idea into a project.
Choose your services and see the price, or tell us about your project.